KigEyes development blog (First batch of hardware)
KigEyes development is going fast right now. The long work of deciding system design, picking components, schematic design, checking, PCB and component ordering and assembly is done. It is about time to share the fun stuff.
The boards
power-io-board
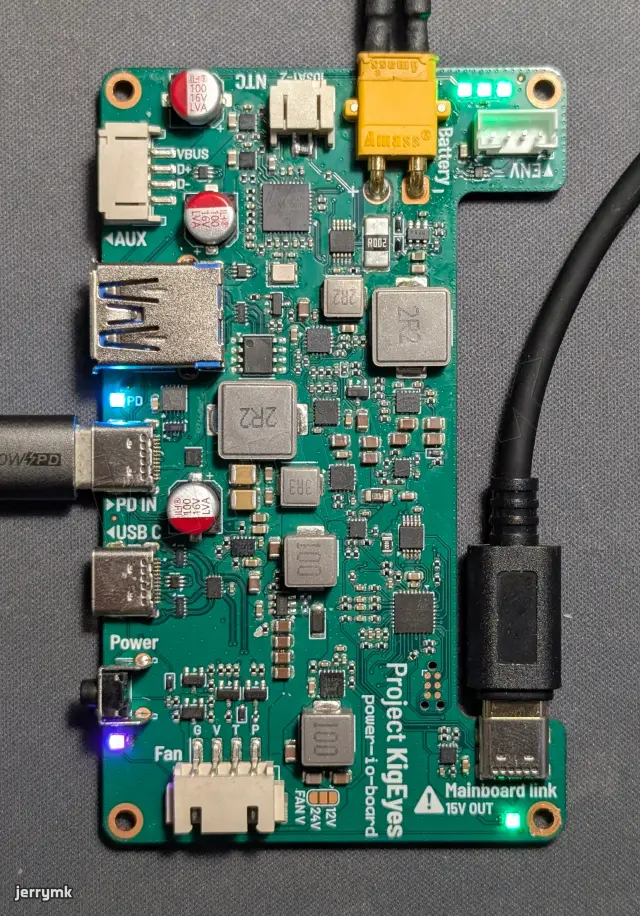
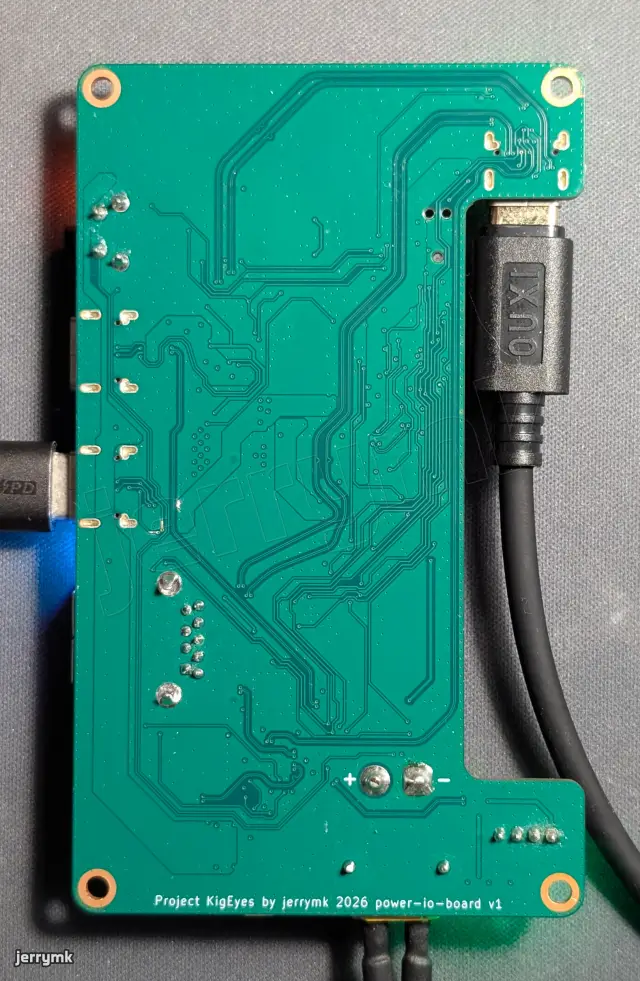
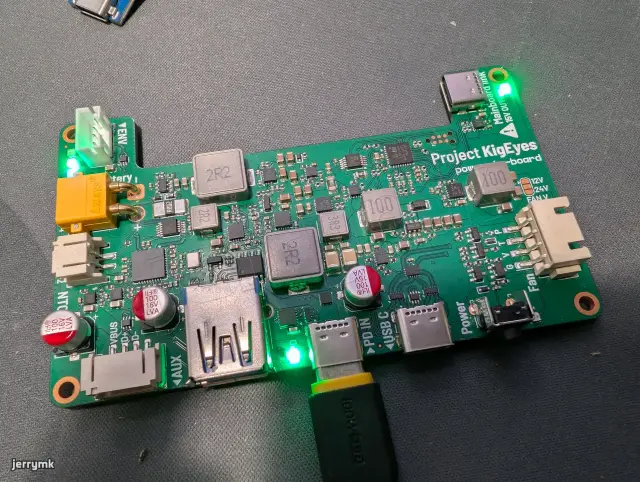
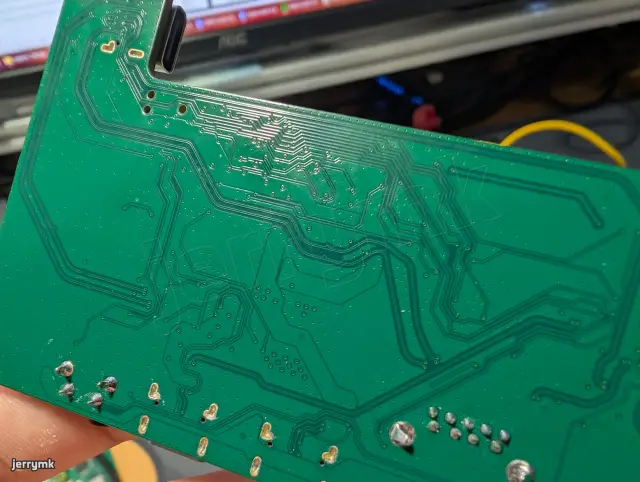
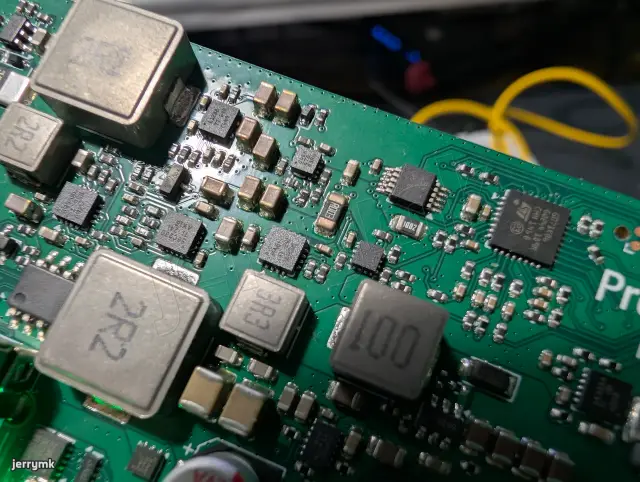
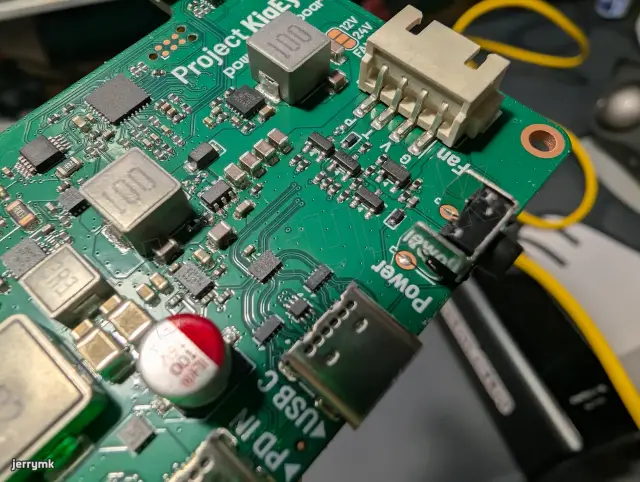
This board takes in a LiFePO4 (because it is going to be right next to your head, and possibly locked together with you, it better not explode…) or USB PD input, and converts that to up-to-15V power rail to the mainboard, charges the battery, supplies 5V to the USB ports, and brings signals from the mainboard to the USB connectors here, because this will be the board at the rear of the Kigurumi mask, where all the peripherals and cables are entered, to be the least obtrusive. It also has a 4 pin fan port for your cooling needs.
This board is connected to the mainboard with a single Type C link, and brings the up-to-15V power, single USB 2, dual full 5Gbps USB 3.2 Gen 1x1, and I2C on sideband for communication between the two board controllers.
mainboard
Because I ran out of time using up my 6+ layer PCB coupon from JLCPCB, I designed this board in a few hours and just sent it. It is a wasteful 6 layer, and not much thought has been put into the overall design. It is just a prototype to test Type C DisplayPort Alt mode output and camera muxes.
Man, getting Type C DP Alt output from the Raspberry Pi is such a pain! No Raspberry Pi SBCs output DisplayPort, and there are just no ICs available that just simply converts HDMI to DP without being so annoying. They all have microprocessors in them that require programming, and the development resources are not available publically. Thankfully, the CS5801 seems to have factory generic firmware preloaded. I haven’t tested it, but I think it will work. Conversion from DP to Type C Alt mode is not trivial too, pretty much all have DRP (dual role port) function, and powerful power switching capabilities like separate sink and source 20V 5A switches. I… only need DFP (downfacing port) and 5V 0.4A, oh well. These chips are designed for laptops, and they can be had pretty cheap though.
IMX675-camera-module
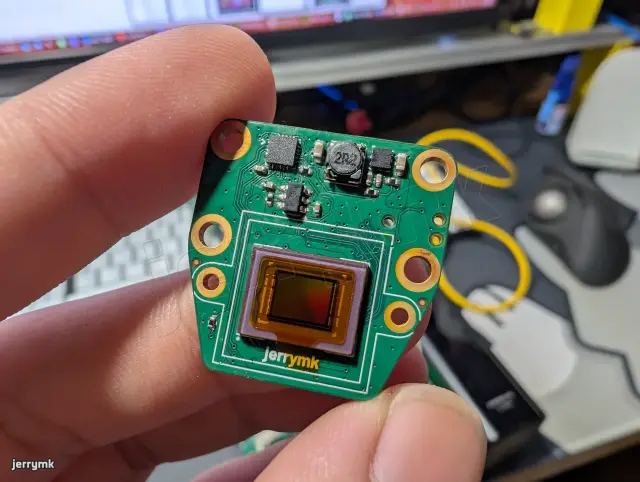
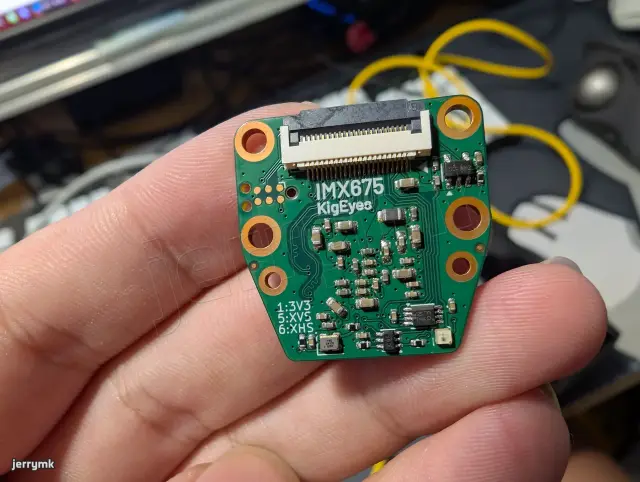
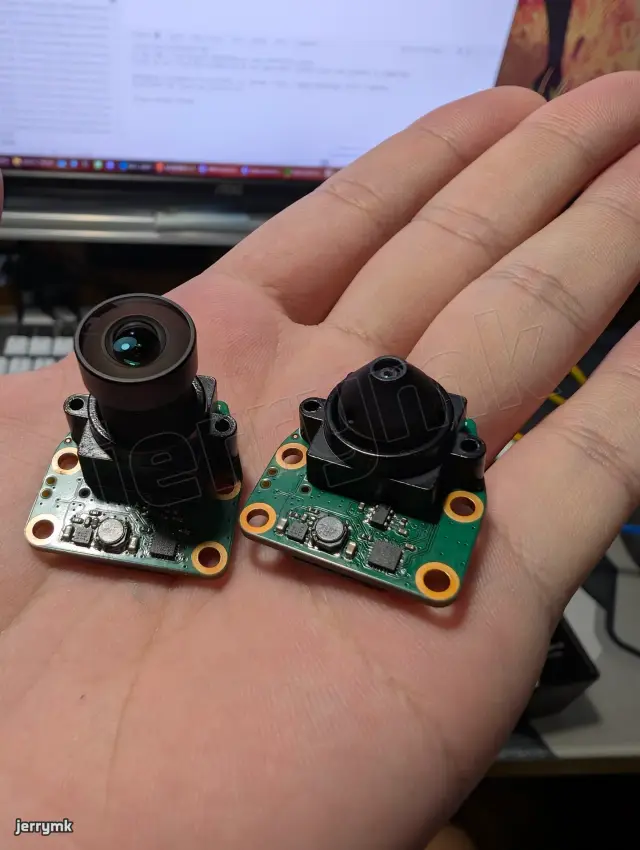
Did I really needed to design my own camera module from scratch? And use a sensor that is not supported by Raspberry Pi, no open source driver packages (unlike all the sensor options Will Whang graciously figured out and open sourced), and isn’t even all that good?
1/2.8” that is so small, 2592×1944 that’s not even 4K. What am I gonna do when there’s no public full datasheet and register maps for the sensor?
Well you see, this is for a Kigurumi mask passthrough camera. The lens opening must be small enough to be hidden. We could get a tiny camera FPC module, but those have tiny sensors and terrible image quality. You see, there’s an interesting category of camera lenses, conical lenses. These don’t have great resolution (usually marketed at around 3MP), imaging circle usually aren’t that big (at M12, 1/2.5” to 1/3” is usually what you can get), but for its lens opening, the image quality we can get amateurly is pretty amazing.
Using a smartphone front facing camera is even smaller and looks better, but probably not without fancy ISP work and millions of R&D.
And it turns out, you can buy datasheet and register tables for these sensors from Chinese sellers for pretty cheap (I got mine for like 7USD). And Codex has no problem implementing that into a working camera driver for the Raspberry Pi. (sorry sorry, but this level of Linux work and driver code developement is way out of my knowledge…)
留言